Drawing With Cricut Explore Air 2
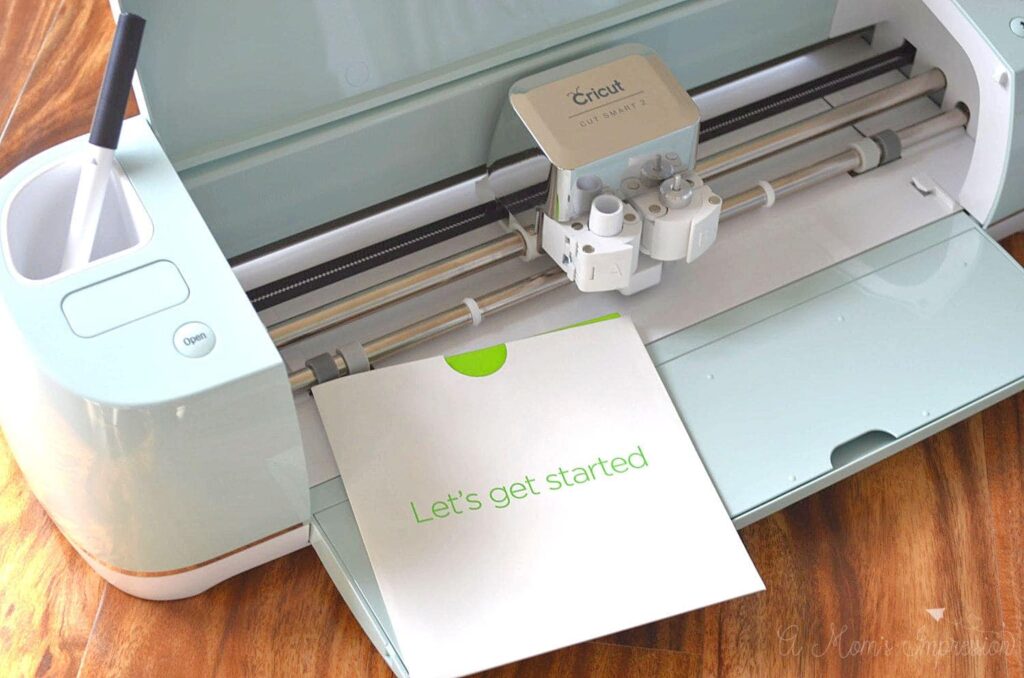
Have you just purchased Cricut and are wondering how to Cricut Setup Explore Air 2? You might be considering buying a Cricut machine or what's the difference between its predecessors. In either case, we have brought up a few easy projects for beginners and will walk you through its useful and standard features. To install Cricut Explore Air 2, we will start from scratch: unboxing this magic box and ending it with some valuable tips. Don't worry if you have an older Cricut Explore Air machine. There are a few differences between the models, and this guide will work perfectly for you. Let's start to explore the choices with the tutorial we have brought up for you. If this is the first time you are experimenting with the Cricut machine, you need to check out the complete guide listed below. Before starting with the process to install Cricut Explore Air 2 model, do the following. Let's make sure there isn't any item missing from your surprise box. If any item is not included, either return the Cricut Setup Explore Air 2 to the store or contact Cricut.com/Setup for speedy replacement. And if you found anything, that's a bonus, enjoy! Your product packaging should include: Important: There are several kits available, such as Ultimate Kit, Tools kit, Vinyl Starter Kit, and Premium Vinyl. So, you might have received a few extra items with the product packaging. It is essential to ensure these items are included with the packaging to Install Cricut Explore Air 2. A common question on which everyone is continuously brainstorming. It is the most asked question, as both Explore Air and Explore Air 2 seem to have exact features. So, how do you differentiate between these two machines? The answer is speed and color. With Cricut Explore Air 2, you get to experience 2x speed mode, which is higher than its predecessor model. The Cricut Explore Air 2 speed is perfect to work with vinyl, card stock, and iron-on transfers. For people looking to explore various color options, you have got a range of options sky blue, pastel pink, and mint green. However, the process to install Cricut Explore Air 2 might not have much difference. We'll discover this topic later in this guide. Here, we will cover the basic features which will help you install Cricut Explore Air 2 machine. Note: If you require to remove the accessory clamp or blade, just open the lever and pull out the metal housing. You will find a tiny plunger on the top, and the blade will sit on the inside. You can press down the lever to reveal the blade, which is magnetically held out. In case you need to replace the blade, just pull out and drop another one. To use a pen, open the accessory clamp A, drop it down, and close the clamp. If you have decided to go with the Cricut Explore Air 2 model for your craft creations, start with the setup process with the help of the following instructions. To create custom t-shirts, you need to Download Design Space. With the Cricut Design Space app or software, you can create any desired design for the required material. After completing the steps to Cricut Setup Explore Air 2 machine, let's get the overview to download the app. If you need to Cricut Setup Explore Air 2 properly, you must follow the step-by-step guide we have brought you. How to Use the Cricut Explore Air 2 Model?
Unbox Your Cricut Explore Air 2 Model
Difference Between the Cricut Explore Air 2 and Its Predecessor
What's Inside the Cricut Explore Air 2 Model?
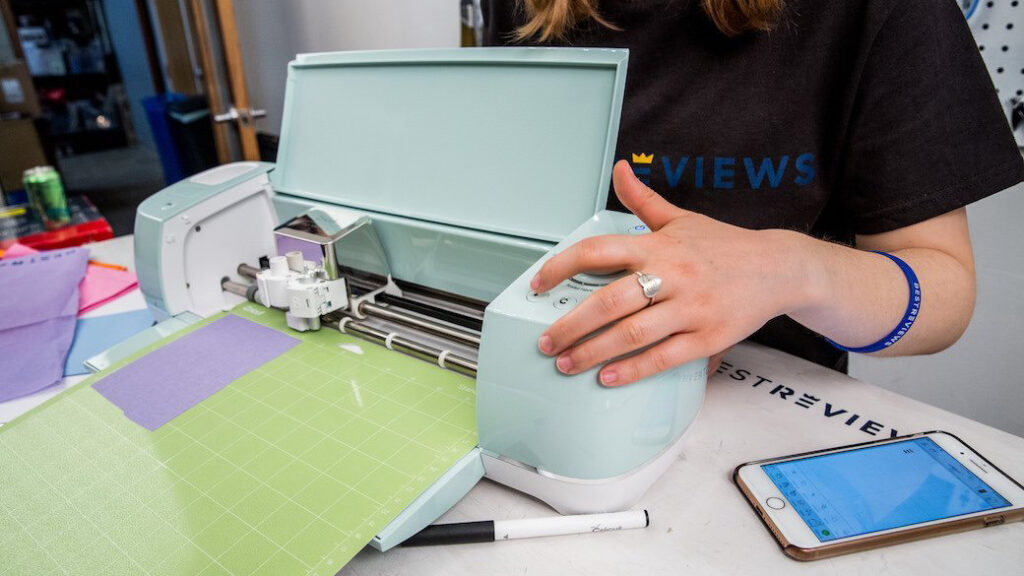
Using the Cricut Explore Air 2 for Beginner Level
Install Cricut Explore Air 2 (Windows/ Mac)
Install Cricut Explore Air 2 (Android/ iOS)
How to Use Cricut Design Space for Beginners?
Windows
Mac
hamiltonfolettelver.blogspot.com
Source: https://set-cricutexplore2.com/
0 Response to "Drawing With Cricut Explore Air 2"
Post a Comment